Main panel
The main panel allows for easy selection of content elements listed under the HEADER, CONTENT and FOOTER menus.
Tags, Styles and Document properties can also be accessed from this panel.
The report editor is used to build the report including the document properties, content, layout and styles.
Quick Links
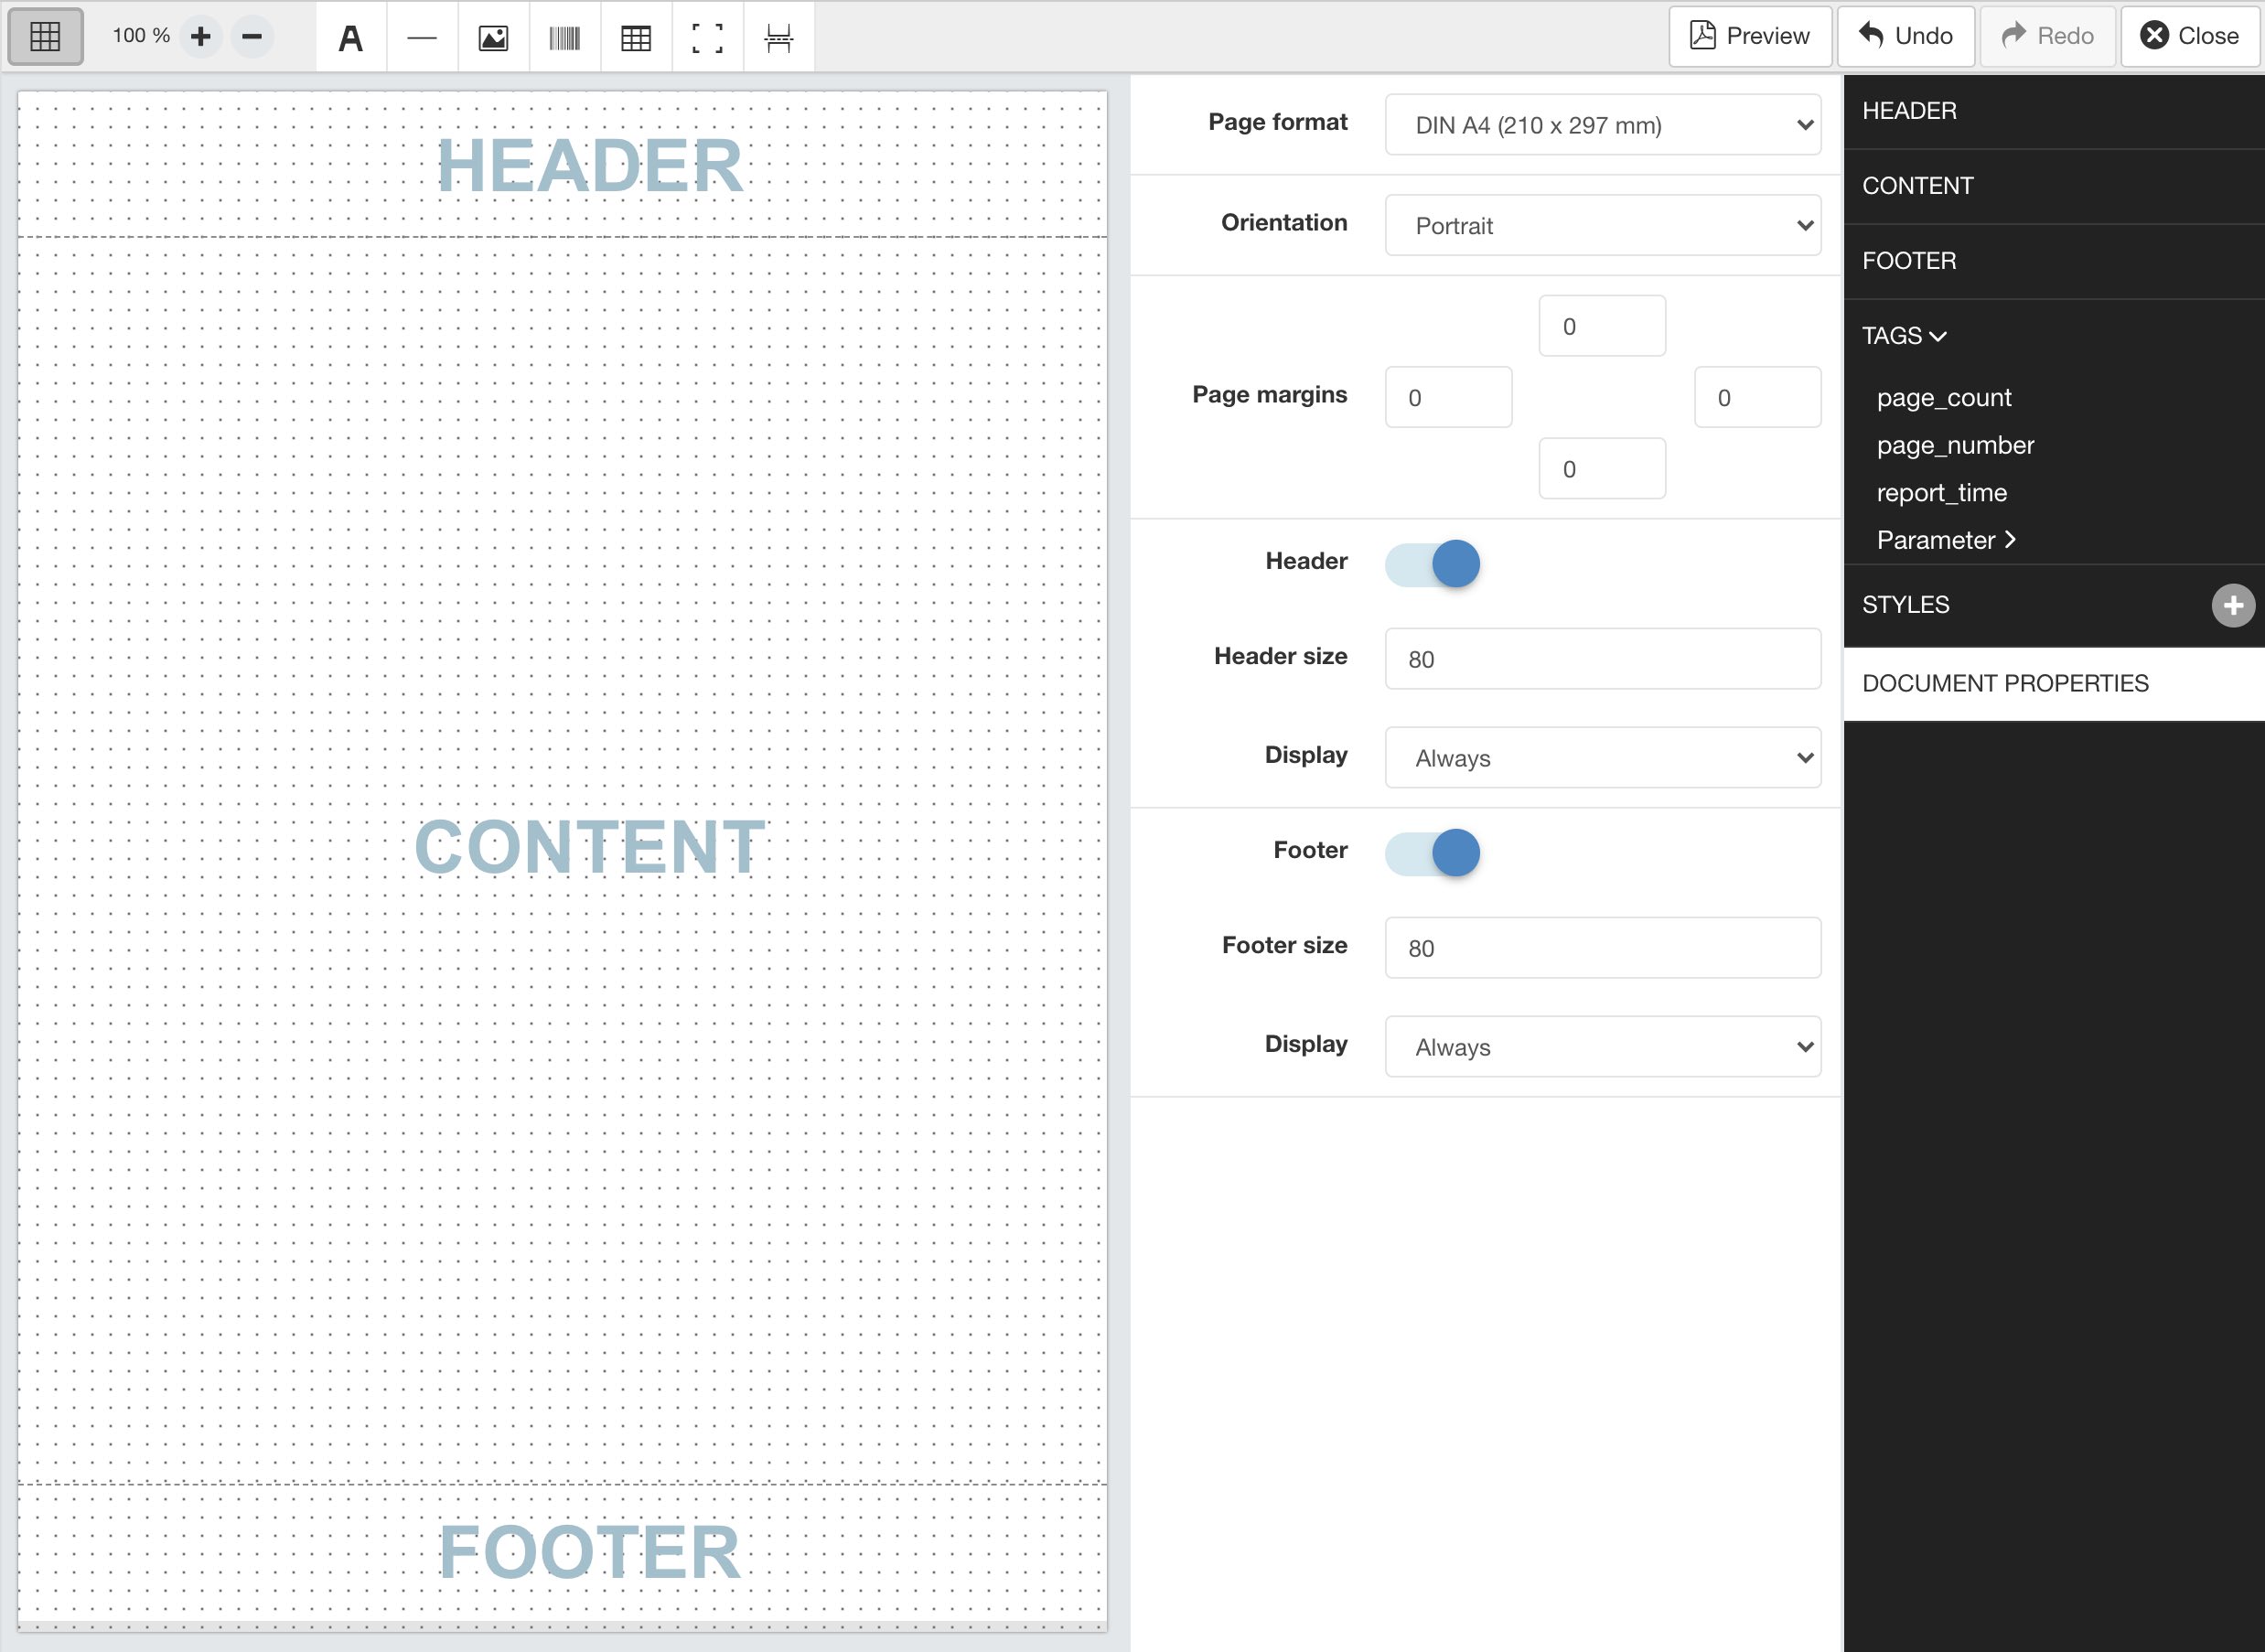
The report editor consists of the toolbar, page designer, detail panel and main panel.
Layout controls

The Grid control can be toggled to show or hide the designer grid.
When the grid is enabled page elements will snap to grid when moving or resizing making it easier to position elements on the page.
Use the Zoom +/- to magnify the report document.
Content elements

Content elements are added to the page designer to build the report. The available elements are covered in detail below.
Operations

Preview will build the report and display the PDF. Click the Design button to close the preview and return to the page designer.

Reports are automatically saved as changes are made.
Concurrent editing of a report by multiple clients is partially supported. Any modification will trigger the report to be reloaded in all browsers with the most recent changes.
Use the Undo and Redo buttons to revert changes during the editing session and hit Close to exit the report editor.
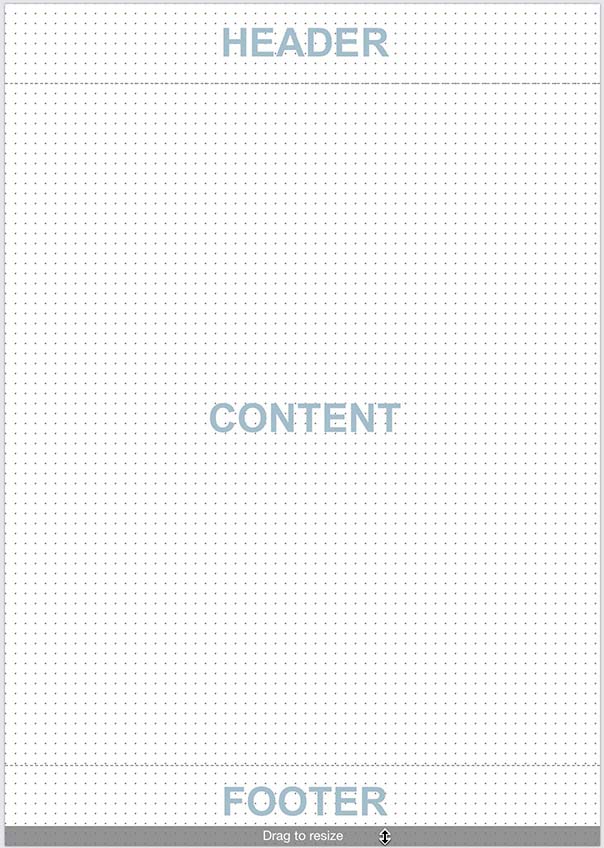
The page designer is where the report content is assembled by adding content elements to the content, header and footer sections.
Click and drag the resize handle at the bottom of the page to adjust the content height so that more elements can be added to the report.
Selecting an item from the main panel will display the associated configuration in the detail panel. Use this panel to modify the configuration of the document or the page elements and see the results in the page designer.
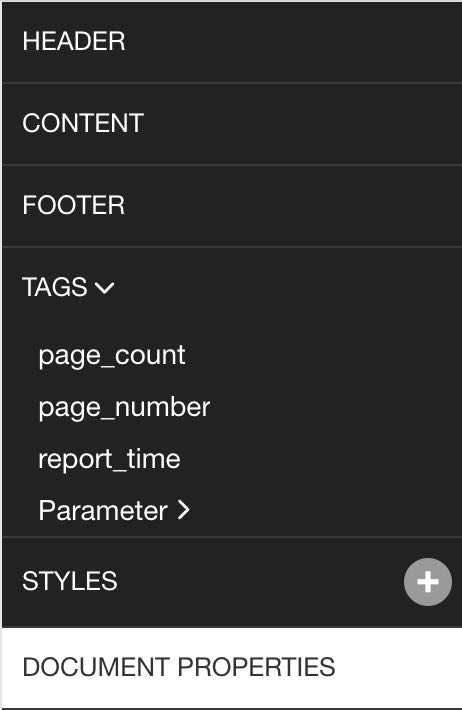
The main panel allows for easy selection of content elements listed under the HEADER, CONTENT and FOOTER menus.
Tags, Styles and Document properties can also be accessed from this panel.
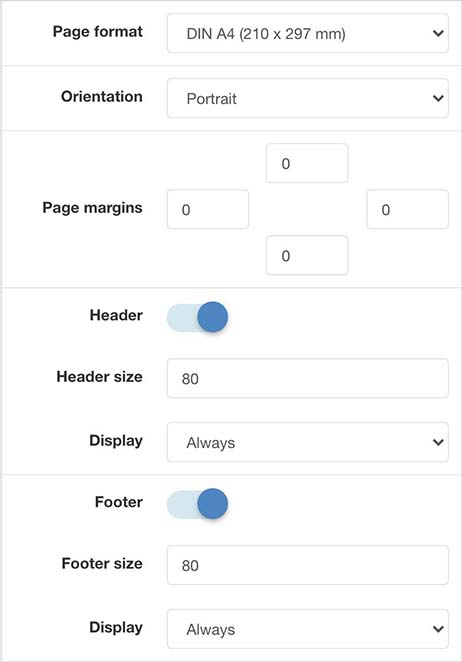
The DOCUMENT PROPERTIES menu contains general page and display options.
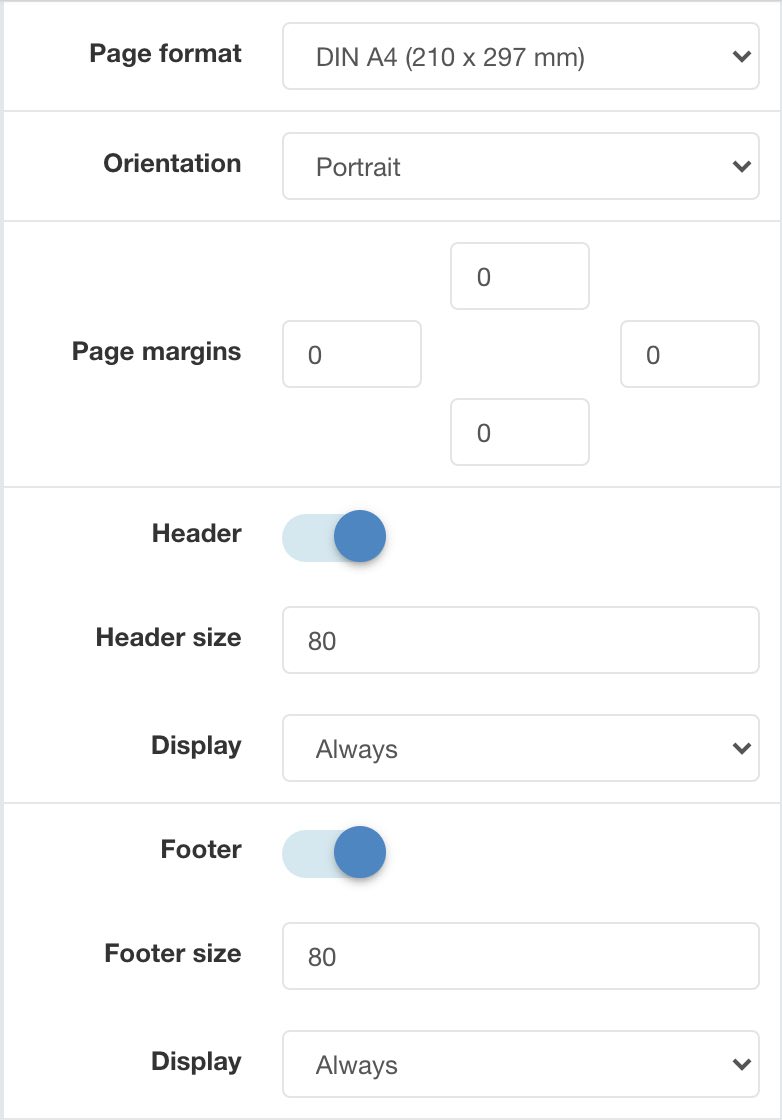
The Page format and Orientation options specify the output page settings for PDF documents. Typically a report would use DIN A4.
Select Own dimensions to specify a custom width and height.
Click and drag the resize handle at the bottom of the page designer to adjust the content height so that more elements can be added to the report.
Content will automatically span over multiple pages as necessary. Alternatively insert a page break element to force content to flow to a new page.
Headers and footers are special content sections at the top and bottom of the page respectively.
These sections are automatically included on every page by default.
Use the Header and Footer toggle switches to enable or disable these sections.
The Display option can be set to Always or Do not display on first page.
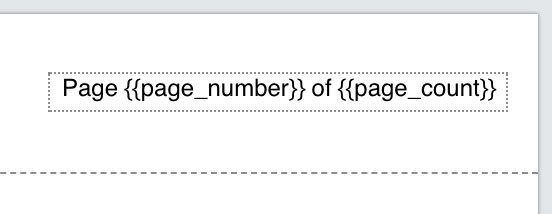
To include the Page number and Page count at the top of every page, create a new Text element and drag it into the document Header.
Set the text of the element to use the page_number and page_count tags as required.
The text Page {{page_number}} of {{page_count}} will output similar to Page 1 of 5.
Click or drag-drop an element icon from the editor toolbar to insert it into the page designer.
Elements include text, horizontal line, image, bar code, table, frame and page break.
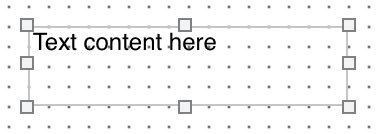
Text elements are used to add text to your report. This includes headings, labels and paragraphs.
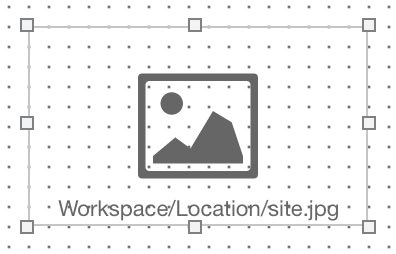
Add images to your report.
Select Choose file from the detail panel to upload a local JPG or PNG file from your device.
Alternatively specify a URL or tag as the image Source.
Charts and attachments from the workspaces tree can be added to the report via tags.
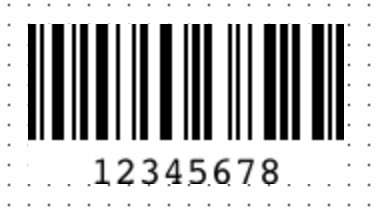
Insert CODE 128 bar codes into your report. Use the Text field to enter the alphanumeric characters for the bar code or use tags for dynamic content.
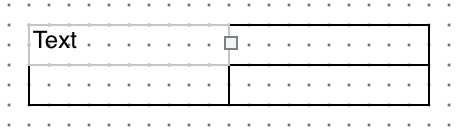
Tables make it easy to align related content.
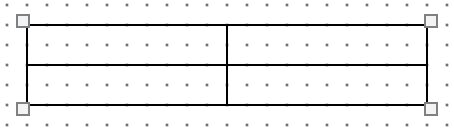
Drag the table around to position it within the report.
To resize or configure the table you must select it and edit its settings from the main panel.
Set the required number of columns, content rows and toggle header and footer rows as required.
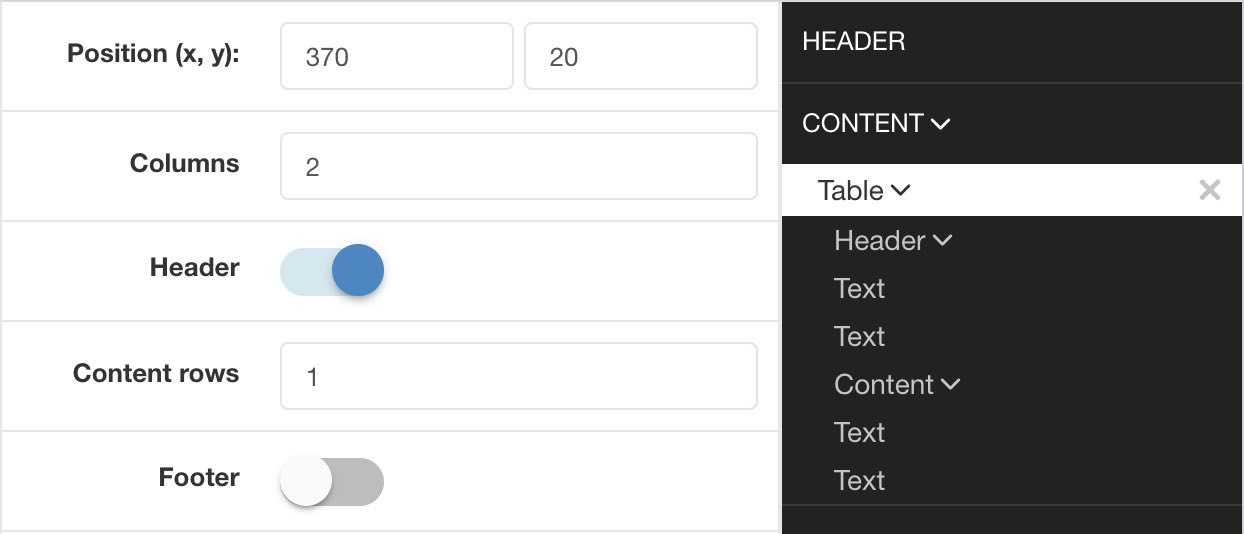
Clicking the Table item from the main panel will expand to show individual cells grouped by header, content and footer.
Select an individual cell from this panel to set its Text or column Width in pixels.
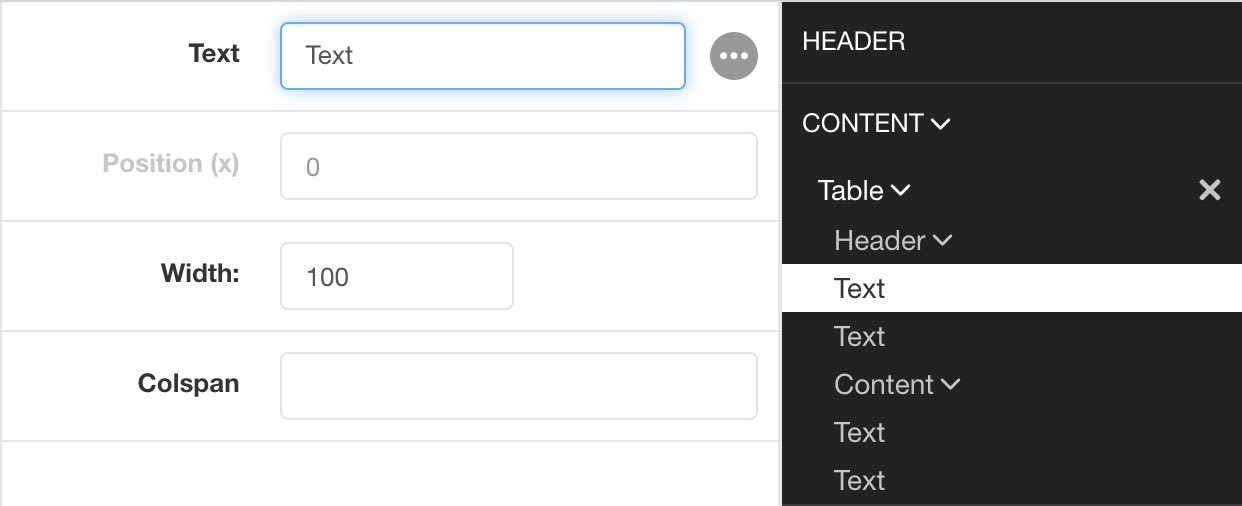
As you make changes from the main panel, the designer will update the table accordingly.
Note
You can add current parameter data values to individual cells using tags however historic data in a table is not yet supported.
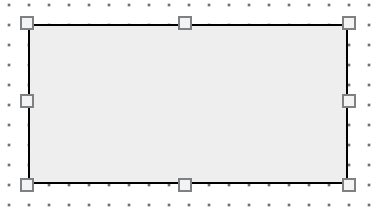
Use frames to group other content elements or add backgrounds and borders to sections of your report. Drag elements into the frame to group them, then simply position the frame on the page as necessary. Select the Frame from the main panel to modify its settings or select its grouped elements.
Click or drag-drop an element icon from the editor toolbar to insert it into the page designer.
An element can be removed by clicking the x delete button next to the element in the main panel or selecting the element and pressing the DELETE key.
Copy and Paste elements using CTRL+C and CTRL+V shortcut keys to quickly duplicate selected elements.
Select the element by either clicking directly on the element’s bounding box in the page designer, click and drag a selection box around elements, or clicking the element in the main panel.
Additional elements can be added to the selection by holding the SHIFT key.
Drag the element(s) around the page designer to reposition or use the Arrow keys for small adjustments.
Click and drag the bounding box handles to resize an element.
Note: elements will automatically snap to the designer grid during reposition and resize operations but you can temporarily disable this behaviour by toggling the grid off.

When multiple elements are selected, the alignment toolbar is available to quickly align elements together on the page.
When an element is selected its properties, display, style and conditional style options are displayed in the detail panel.
The general properties section includes the element content, position and size.
DISPLAY section options customise the behaviour of the element in the PDF including preventing the content from being split over multiple pages, adding hyperlinks, etc.
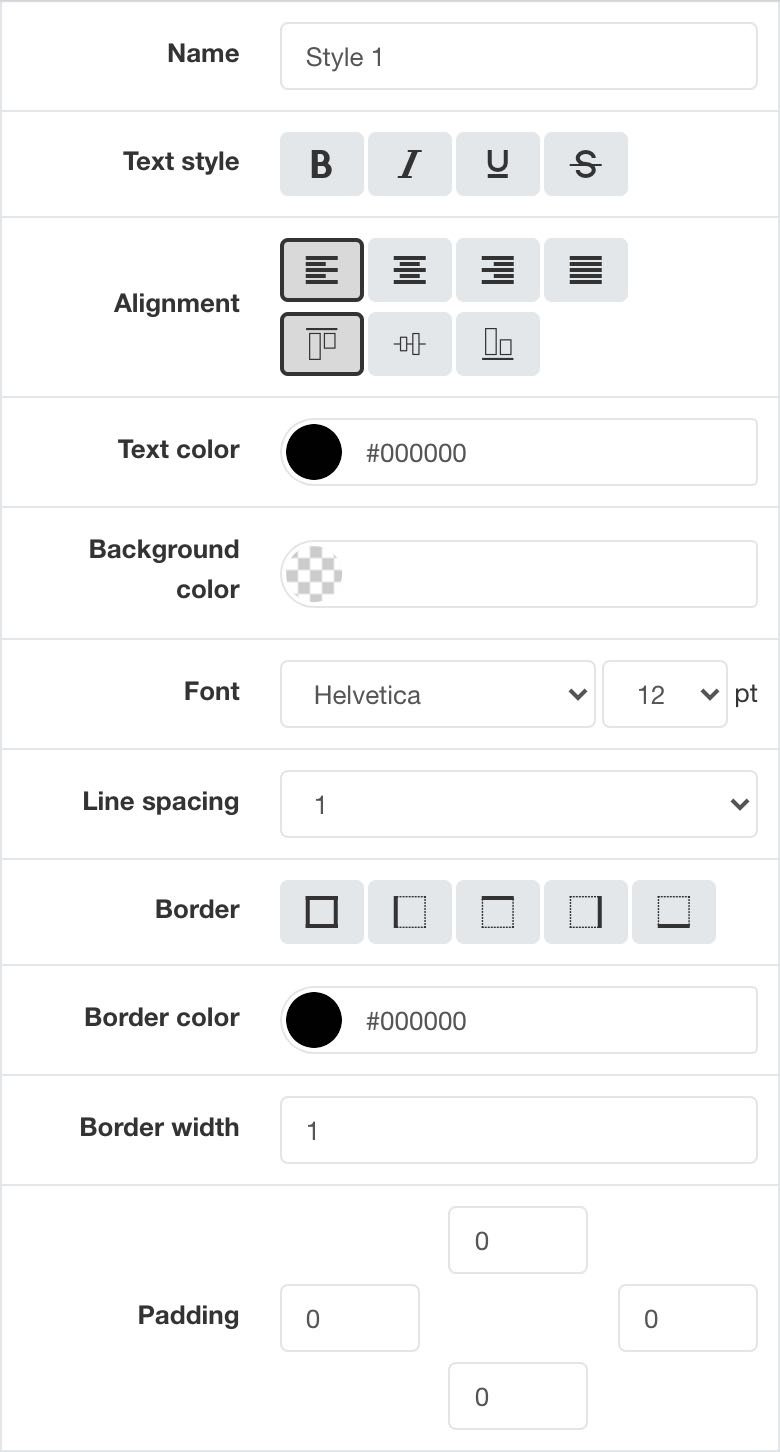
STYLE allows a predefined style to be applied or customise the appearance of elements individually.
CONDITIONAL STYLE allows a different style (predefined or individually applied) to be set when a user-defined Condition is met.
An example of a conditional statement is 11 > 10, or using tags {{Parameter.currentValue}} > 10.
The + add style button in the main panel adds new predefined styles to the report.
Headings, paragraphs and other content elements generally share similar styles. You can set the styles on every element individually but this can be tedious.
Its more efficient to predefine a set of styles and then simply select the Style name on each element you want to apply it to.
Tags are the mechanism in which dynamic attributes related to nodes in the workspaces tree can be inserted into the report. This can include tags such as parameter value text, location coordinates, chart images, and many more.
Tags are available for all nodes that has been linked to the report.
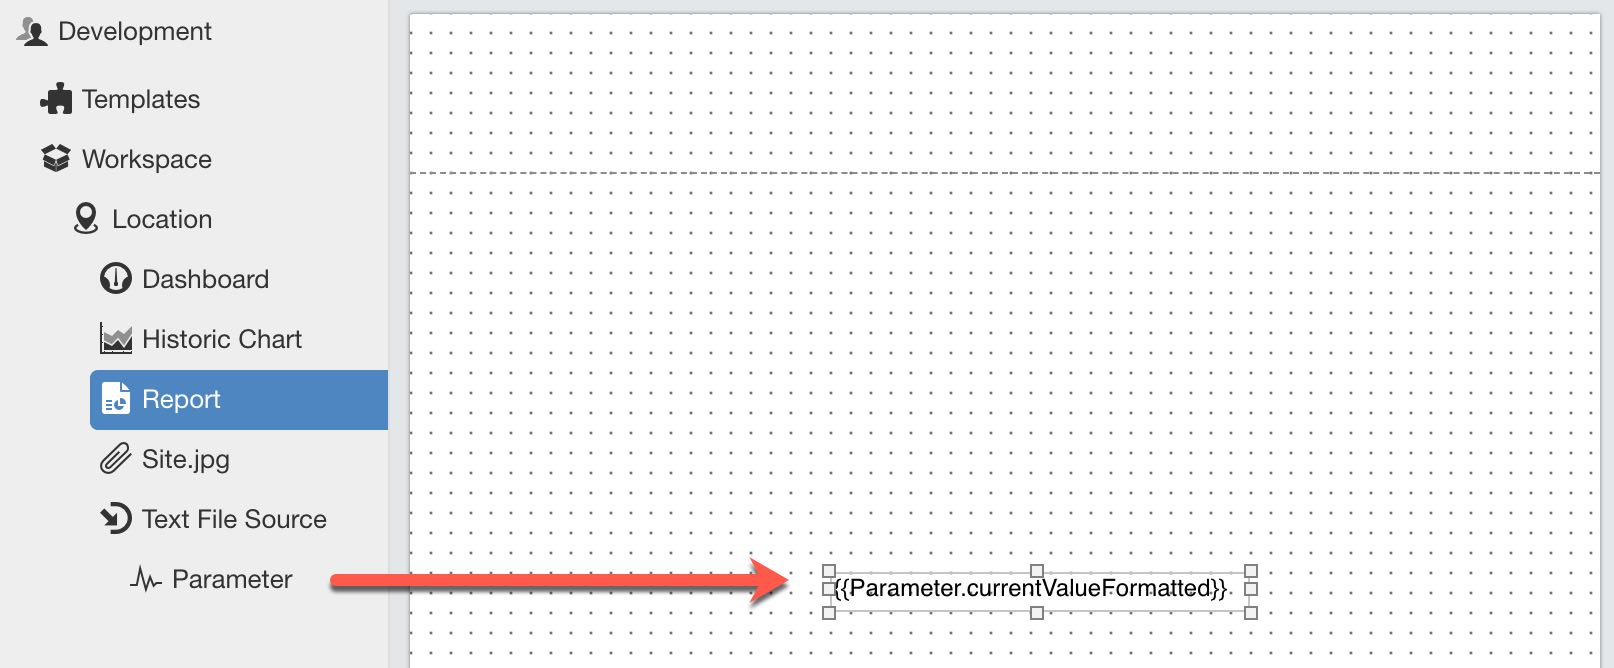
The easiest way to link a node and insert a default tag is to drag and drop the node from the workspaces tree on to the page designer.
Note
Only nodes within the same workspace (or template) as the report can be linked.
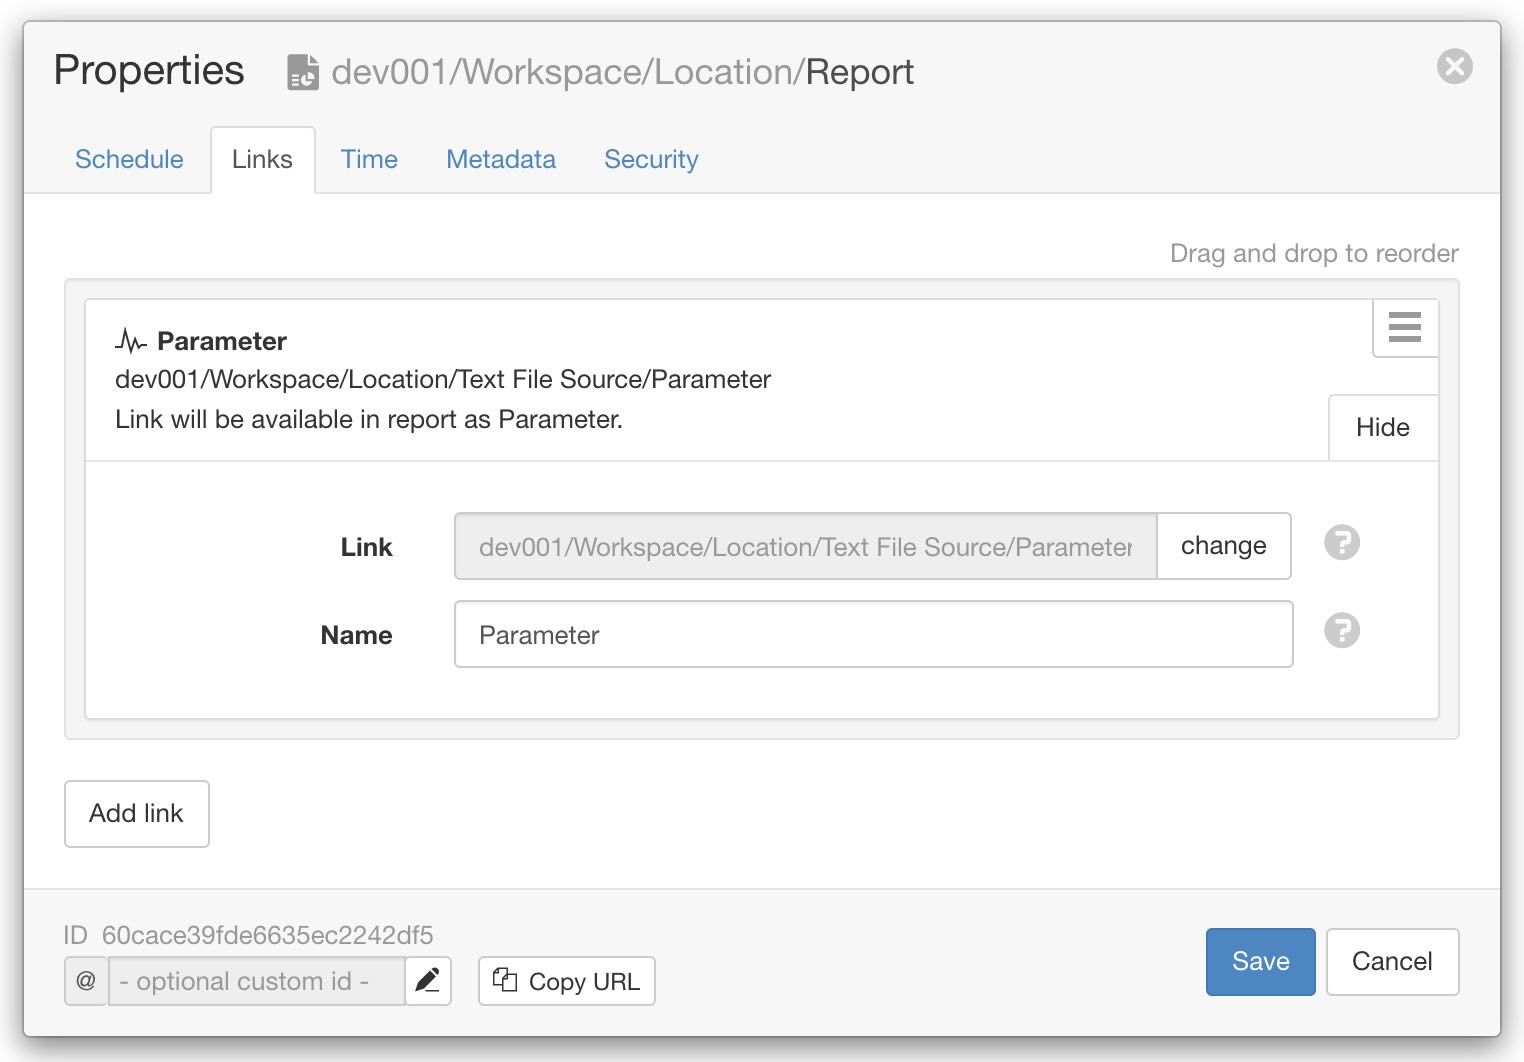
You can remove, modify or rename links from the report properties.
If the Name of the link is changed you will need to use the new name when assigning tags in the report.
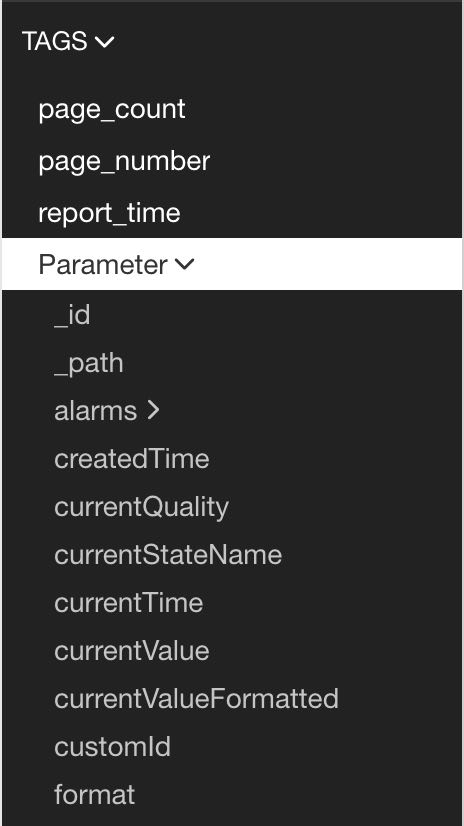
Click on the > expand arrow next to a tag in the main panel to show its available attributes.
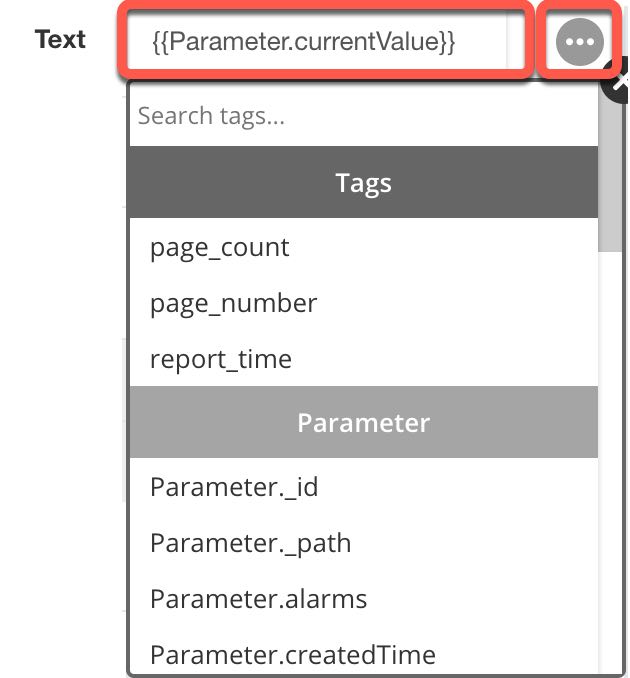
Use the content field of an element (eg. Text or Source) to either manually enter a tag or click the ... tag list button to select from a list of available tags.
Tags are always surrounded by double curly braces {{ and }}. eg. {{Parameter.currentValue}}
When the report is generated the tags are replaced with the corresponding data. Multiple tags can be inserted in a single element and are rendered inline.
eg. The value is {{Parameter.currentValue}} on {{Parameter.currentTime | time: "Do MMMM"}} may be rendered in the PDF as The value is 7.12 on 10th July
Use expressions directly inside report elements to control the output of the content and its formatting.
{{report_time | time}} or {{report_time | time: "DD MMMM YYYY"}}{{Parameter.currentValue | round: 2}}{{Parameter.currentValue | default: 0}}{{Parameter.currentStateName | truncate: 15}}{% if Parameter.currentValue > 10 %}
Value is above expected range
{% else %}
Value is within expected range
{% endif %}