Map
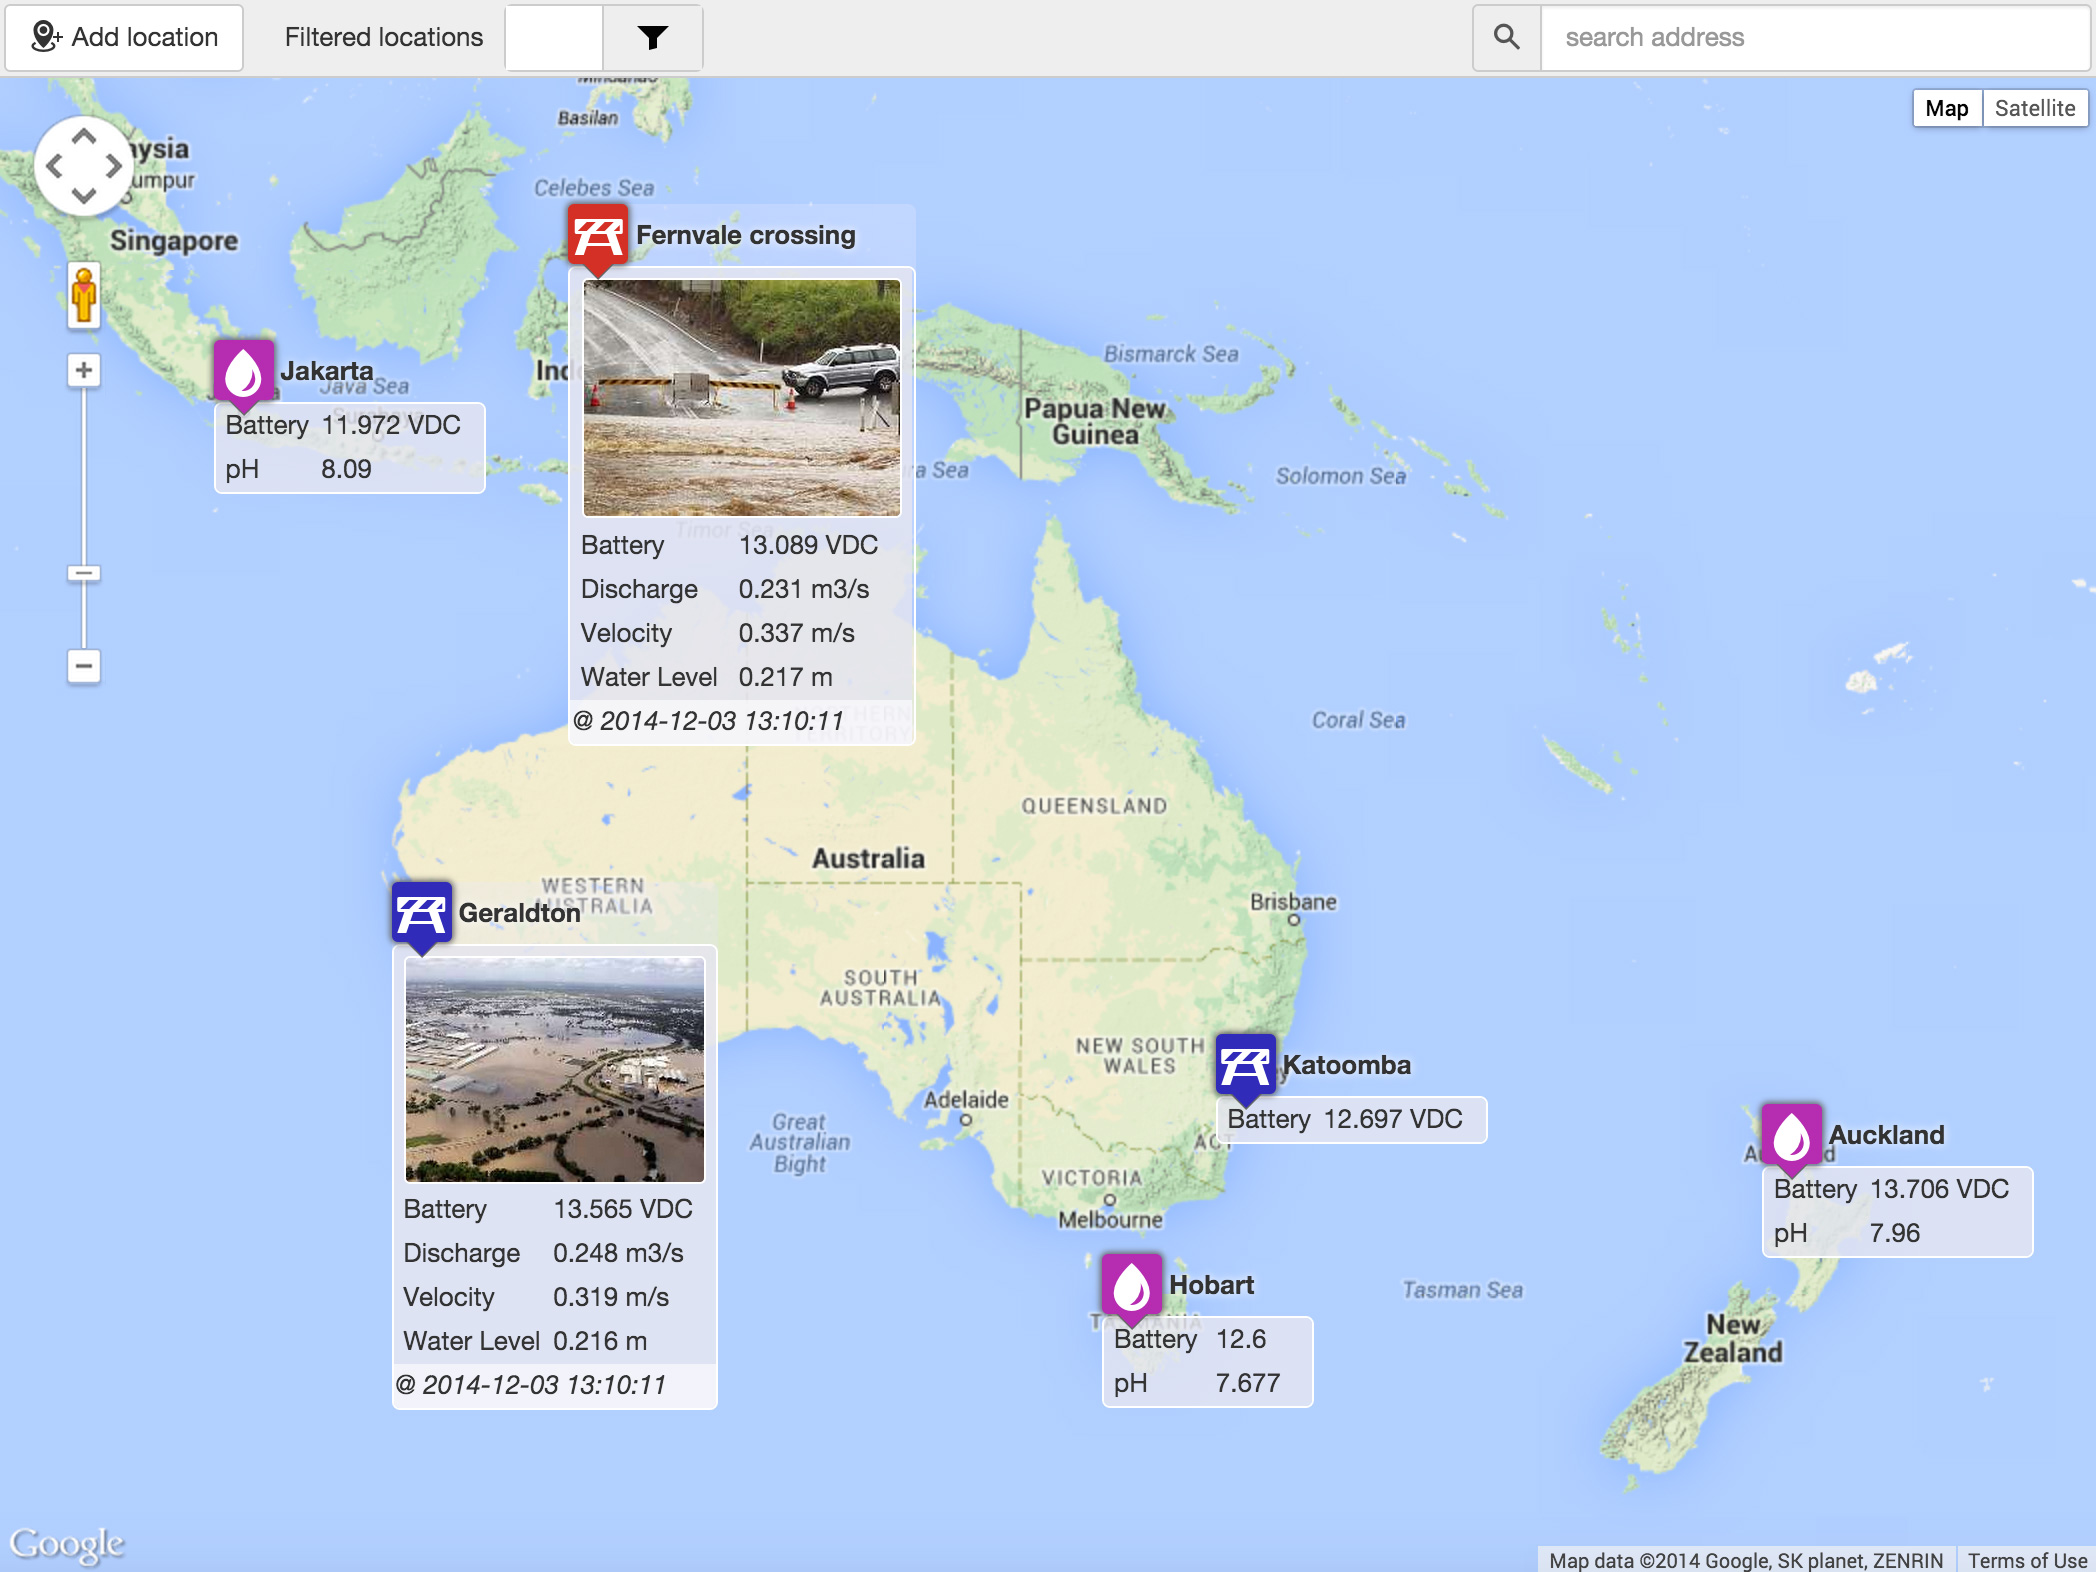
 Map provides a fully featured interactive interface for displaying location based data.
Note
The view displays content based on the Selected Node in the Workspaces Tree. Use filters to quickly target specific parameters or review alarms.
Map styles
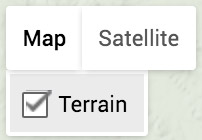
Use the style controls in the top-left corner of the map to change the map appearance. Toggle between Map, Satellite and Terrain styles.
Map layers
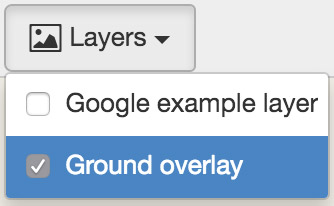
Use the Map layers toolbar menu to quickly show or hide KML (and KMZ) files that have been associated with Workspace(s). The menu will display layers based on your current selection in the Workspaces Tree. Refer to Workspaces configuration for help with adding or removing map layers.
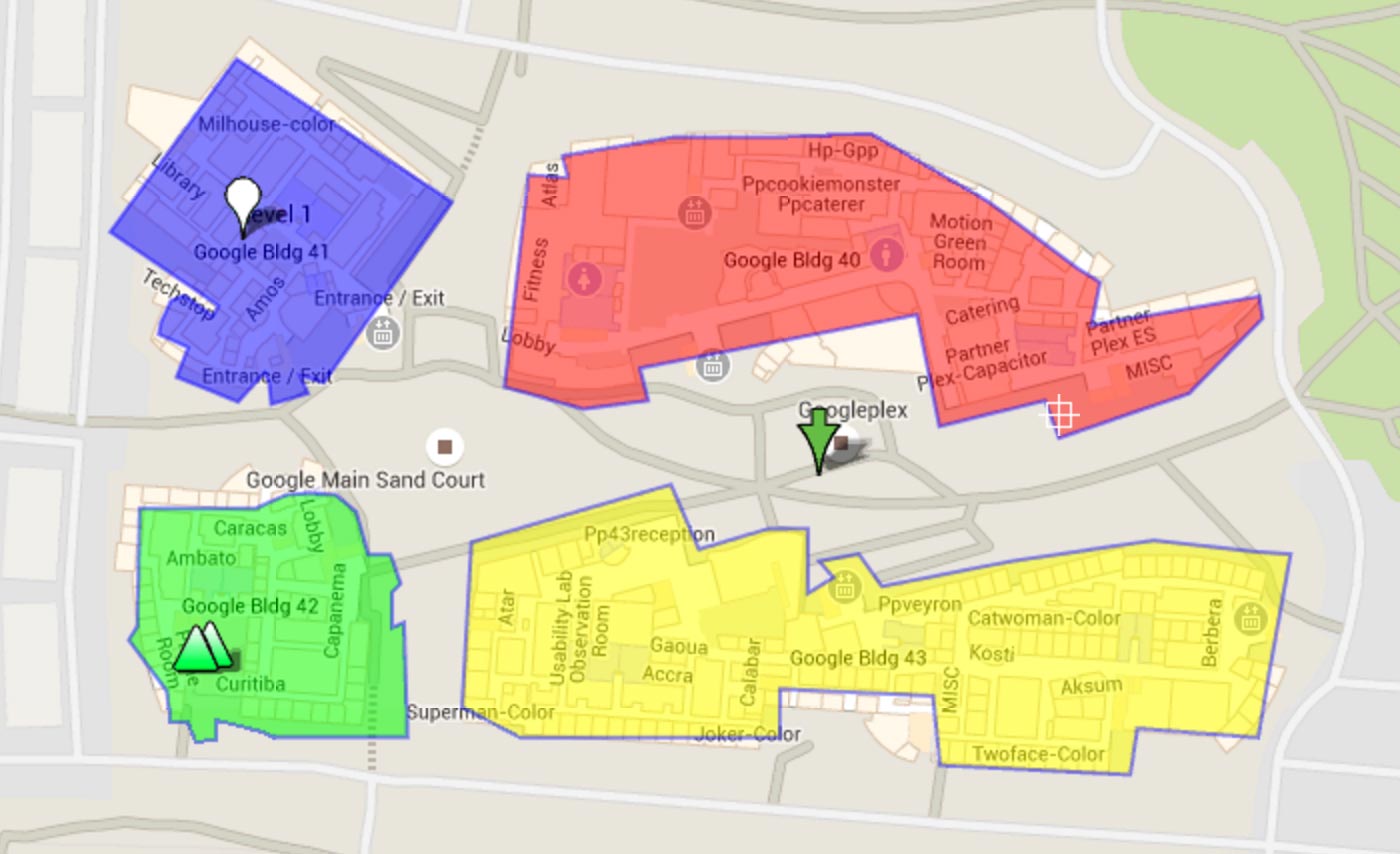
Example KML layer displayed on map:
Note
A maximum of 10 unique layers can be shown on the map at any one time. Additional layers can be shown only after another layer has been hidden. Remote layers are automatically refreshed every 5 minutes.
Zoom and Pan
Use the standard Google Map controls to Zoom/Pan or enter Street View. You can also use your mouse wheel or pinch gestures to zoom. The appearance and layout of the map controls many vary depending on the type of device you are using.
Click and Hover
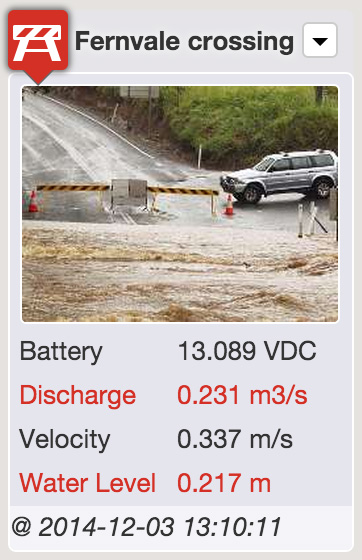
Hover over a Location icon with a mouse to quickly show its parameters. Click or Touch the Location to pin the parameters list open or closed.
Filters
Use filters to quickly show locations of interest.
Alarms Filter will show only the Locations within the Selected Node that are currently in alarm or acknowledged state (including any contained Nodes).
Parameter Filters will show only the Locations within the Selected Node that contain parameters matching the filter name(s). Both Alarms and Parameter Filters can be combined.

The show/hide filtered locations button found in the toolbar can be used to toggle the display of filtered locations. When active you will notice any filters locations are displayed with just a GREY marker and no label. You can still hover or click these filtered locations to display the parameters list.

Map with filters applied
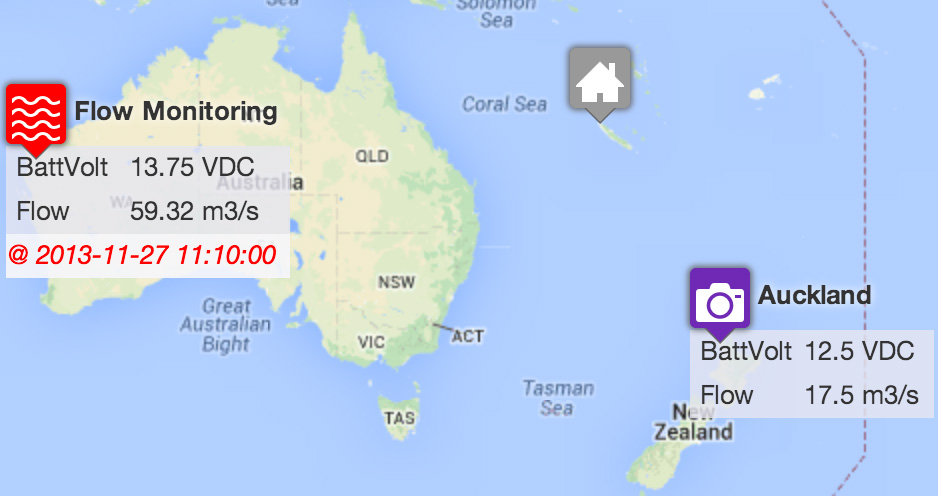
When parameter filters are applied, the corresponding parameters for each applicable Location are automatically displayed. Hover or Click the locations to display all parameters.
Locations containing alarms will have their marker displayed in RED If all alarms within a location have been acknowledged the marker will be displayed in ORANGE.
Reserved marker colors
These reserved marker colors temporarily overwrite the normal marker color:
Active Alarm

Acknowledged Alarm

Filtered

Adding a new Location marker
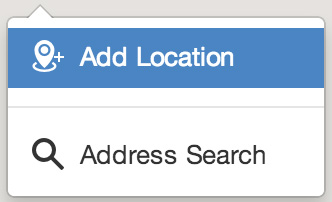
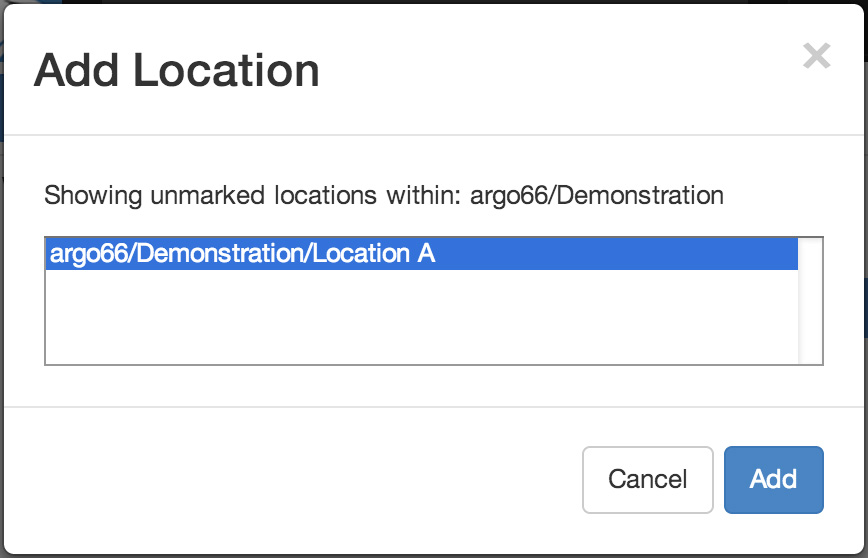
 Use the Add Location button in the toolbar or from the map context menu with a right-click or long-press on the map. The Add Location dialog will be displayed showing all locations within the Selected Node that have not been assigned coordinates.
Map context menu
Add Location dialog
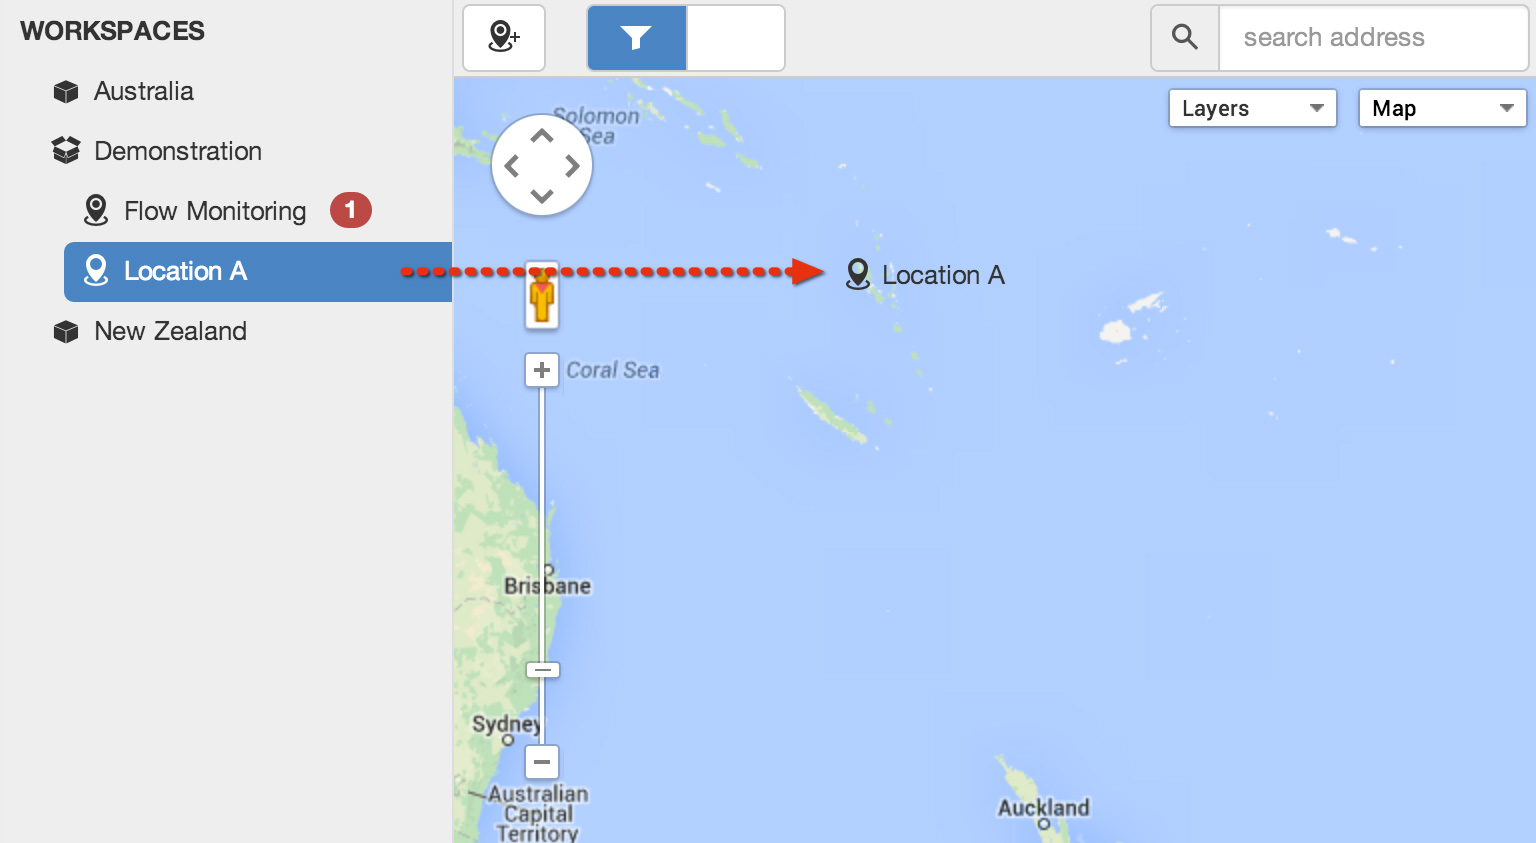
Drag and Drop Locations directly from the Workspaces Tree (not supported on touch devices).
Reposition marker
 Select Reposition marker from the map marker context menu to enter reposition mode. The marker will be shown with a bouncing effect while in reposition mode. Drag and drop the marker and pan/zoom the map until the marker is in the correct position. click or touch on the map background to apply the new coordinates.

Remove marker
 Select Remove marker from the map marker context menu to remove the marker from the map.
This operation resets the location coordinates only. It will not delete the Location Node or any historic data.
Select Remove marker from the map marker context menu to remove the marker from the map.
This operation resets the location coordinates only. It will not delete the Location Node or any historic data.
Note
The Location must use Fixed Coordinates and you must have configure permission for the Workspace to Add, Reposition or Remove the marker. Locations with Dynamic Coordinates will automatically be added, repositioned and removed as the Source receives updates.